

Switch off the power.
Open the transparent vinyl cover which is at the bottom of the sensor.
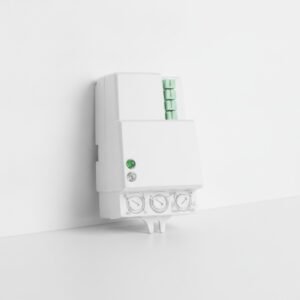
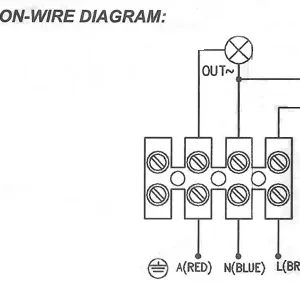
Loose the screws in the connection terminal, and then connect the power and rated load to connection terminal of sensor according to connection sketch map.
Tighten the screw and put the transparent vinyl cover into the original location
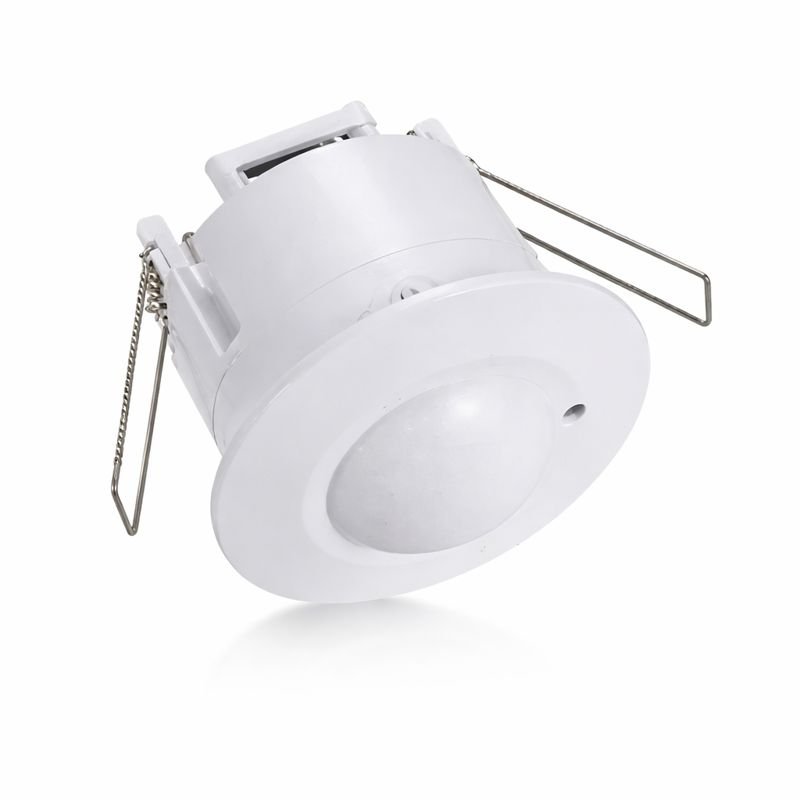
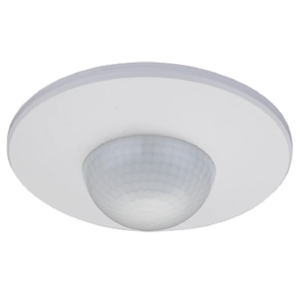
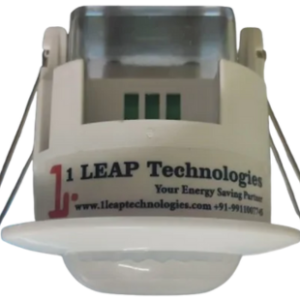
Fold the metal spring of the sensor upwards, until they are in “I” position with sensor, and then put the sensor into the hole or installation box which is on the ceiling and has the similar size with the sensor. Releasing the spring, the sensor will be set in this installation position.
After finishing installing, the sensor could be connected to the power and tested.
When you switch on the power, the light will be on at once. And 10sec±3sec later the light will be off automatically. Then if the sensor receives induction signal again, it can work normally.
When the sensor receives the second induction signals within the first induction, it will restart to time from the moment.
Turn LUX knob anti-clockwise on the minimum (3). If the ambient light is less than 3LUX (darkness), the inductor load could work when it receives induction signal.
Note: When testing in daylight, please turn LUX knob to ☀ (SUN) position, otherwise the sensor could not work!
Applications:-
Smart homes & apartments
Office spaces & conference rooms
Retail stores
Parking areas
Hospital corridors and service areas
Schools, libraries, and educational facilities
Staircases, lobbies, and utility areas
Why Buy From 1 LEAP Technologies?
ISO 9001:2015 Certified: We manufacture every unit under strict quality control. This ensures maximum operational life for your application.
Fast Pan-India Shipping: We offer free shipping on orders above ₹1,000 (North Zone) and ₹1,500 across the rest of India.
Risk-Free Purchase: First-time buyers receive an exclusive discount. In addition, our 7-day easy return policy makes every purchase hassle-free.


Reviews
There are no reviews yet.