1L-PS01 360° Ceiling Mount PIR Sensor — Advanced Ceiling-Mounted Automation Solution
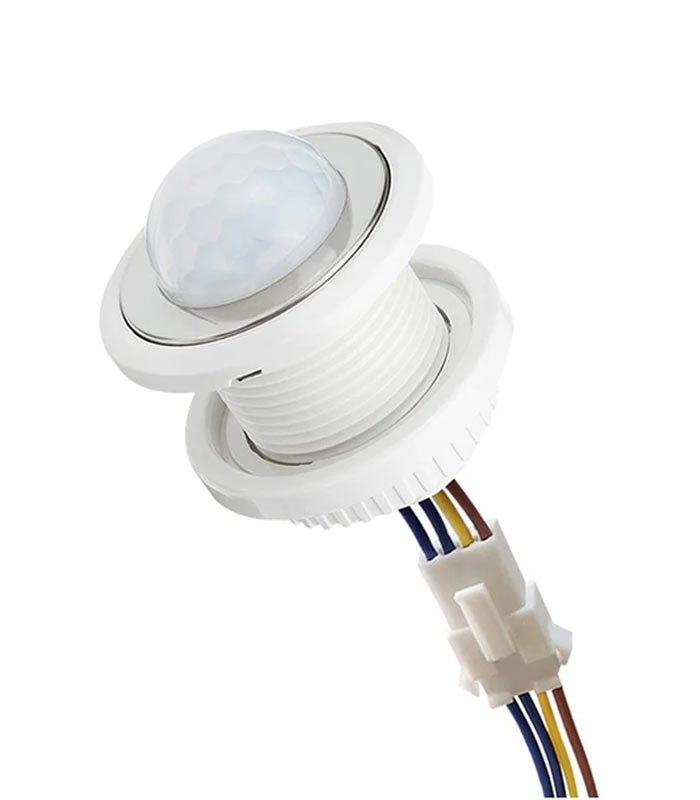
The 1L-PS01 360°Ceiling Mount PIR Motion Sensor is a high clarity lighting automation device engineered for effective motion detection and energy management. Designed by a trusted Sensor Manufacturer, this model combines a modern sensitivity detector with a dependable united circuit system to provide the perfect blend of ease, safety, automation, and energy savings.
By Using modern Motion Sensors technology, the device detects human presence through infrared energy changes and instantly activates the connected load. Its solidity and accuracy make it suitable in use for commercial, industrial, and residential applications.

Specifications
- Power Source: 220–240VAC
- Power Frequency: 50Hz
- Ambient Light Range: <3–2000 LUX (adjustable)
- Time Delay Range: Min.10 sec ±3 sec to Max.7 min ±2 min
- Rated Load: Max 1200W / 300W
- Detection Range: 360°
- Detection Distance: 6m max (<24°C)
- Working Temperature: –20°C to +40°C
- Working Humidity: <93% RH
- Power Consumption: approx. 0.5W
- Installation Height: 2.2m – 4m
- Detection Speed: : 0.6 – 1.5 m/s
These manufacturer provides the complete specifications to make the 1L-PS01 360°Ceiling Mount PIR Motion Sensor a highly stable and reliable Pir Sensor for many automation environments.
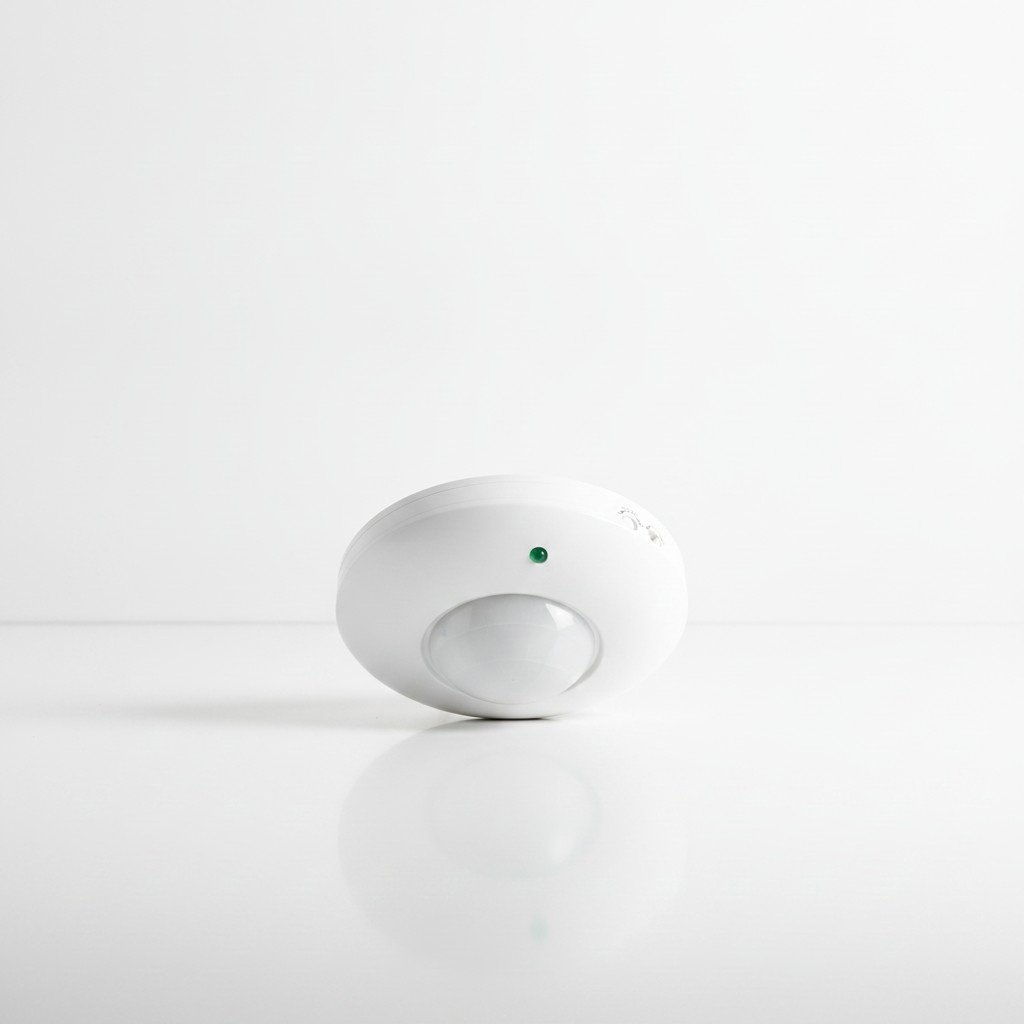

1 LEAP 1L-PS01 PIR Sensor
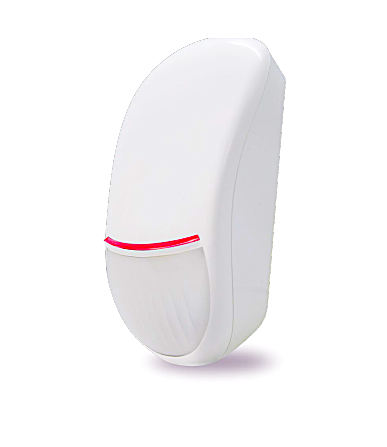

LC-200 PIR Motion Detector with Pet Immunity
PIR Sensor QS-05B
Key Features of the 360° Ceiling Mount PIR Motion Sensor
- 360° Motion Detection: Captures infrared rays from every angle for comprehensive coverage.
- Built-in Photocell: Automatically distinguishes day from night, keeping energy use in check.
- LUX & Time Control: Adjustable controls let you tailor the light intensity and duration—set it, forget it, and save!
- Re-trigger Function: Every new detection resets the timer, ensuring continuous illumination when needed.
- Adjustable Time Delay: From a brisk 10 seconds (±3 sec) to a leisurely 7 minutes (±2 min), choose your preferred timing.
- Stand-alone 220V AC Operation: No complicated wiring—just plug in and start saving.
- DIY Friendly Installation: Designed for ease-of-use, perfect for the do-it-yourself enthusiast who appreciates both tradition and innovation.
How the 1L-PS01 360° PIR Motion Sensor Works
The 1L-PS01 operates on passive infrared (PIR) detection technology. PIR Motion Sensors identify changes in infrared radiation reduces by the human body. When a person moves within the sensing field, the variation in infrared energy triggers the sensor and activates the load immediately.
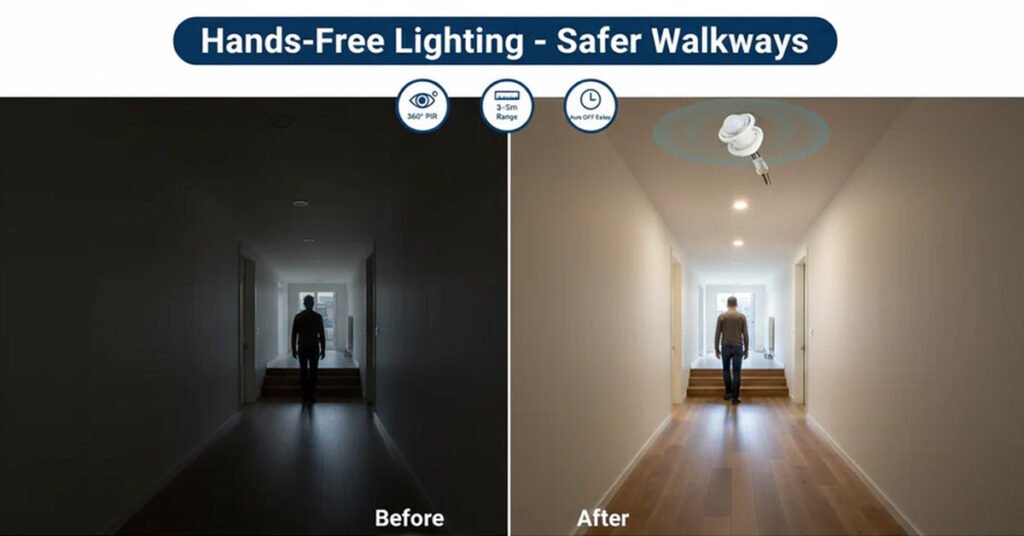
The 360° circular detection design provides complete ceiling-mounted coverage, enabling motion detection from all directions. Adjustable LUX settings allow you to control whether the sensor works only during low-light conditions or in both day and night. Time-delay adjustments further help customizing the lighting duration based on the application.
Functional Highlights
- Automatically differentiate between day and night
- Sun Mode (Maximum): Sensor works during daylight
- Moon Mode (Minimum): Sensor activates only under low ambient light (<3 LUX)
- Continuous time-delay extension makes sure an uninterrupted detection
- Indicator lamp behavior clarify installation and the troubleshooting
These features make the 1L-PS01 ideal for spaces requiring intelligent and responsive lighting automation.
Installation Guidelines
- Do not install the sensor facing mirrors or highly reflective surfaces
- Avoid placing near heat sources such as HVAC vents or lighting fixtures
- Keep away from moving objects like curtains or tall indoor plants
- Recommended installation height: 2.2m to 4m
- Installation must be carried out by a professional electrician
- Makes sure the sensor is mounted in the correct orientation and angle
Following these guidelines will be make sure that the PIR Motion Sensor provides the maximum sensing accuracy.
Testing & Adjustment Instructions
- Set the LUX knob to minimum
- Set the TIME knob to minimum
- Power ON → sensor requires a 30-second warm-up
- With no motion signal → load switches OFF within 10 sec ±3 sec
- After the first activation, the sensor will detect the motion again after 5–10 sec
- In Moon Mode: if light >3 LUX, the load will not turn ON
- Covering the sensor’s detection window with an opaque object triggers activation
Troubleshooting and Solutions:
1. Load Not Working
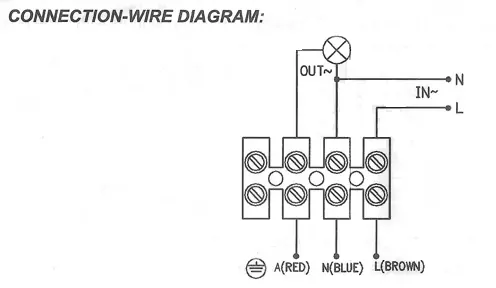
- Incorrect wiring
- Faulty load
- Working light settings do not match ambient light
Load Does Not Turn OFF
- Continuous motion signals in detection area
- Time-delay set to maximum
- Incorrect power configuration
Sensitivity Is Poor
- Object blocking the detection window
- Ambient temperature too high
- Movement outside the detection field
- Incorrect installation height
- Movement direction not aligned with sensor pattern
Why Choose the 1L-PS01 360° PIR Motion Sensor?
The 1L-PS01 360° stands out due to its professional class accuracy, adjustable sensing controls, low power consumption, and wide detection coverage. Engineered by a well-known Sensor Manufacturer, it is built for long-life, consistent operation, and maximum energy efficiency.
Whether you need a dependable Pir Sensor for commercial automation, home lighting, or industrial applications, the 1L-PS01 360° is a proven and trusted solution that refine the lighting control, increases safety, and reduces the energy waste.